
Introduction
Managing Mac build infrastructure is expensive and time-intensive. Dedicated macOS servers or rented Mac instances require constant maintenance, updates, and troubleshooting. Xcode Cloud eliminates these challenges by providing a fully managed, scalable CI/CD solution for iOS development—with 25 free compute hours per month.
Prerequisites
- Active Apple Developer Account ($99/year)
- Xcode installed (version 14.0 or later)
- Git repository (GitHub, GitLab, or Bitbucket)
-
Apple Store Connect Setup
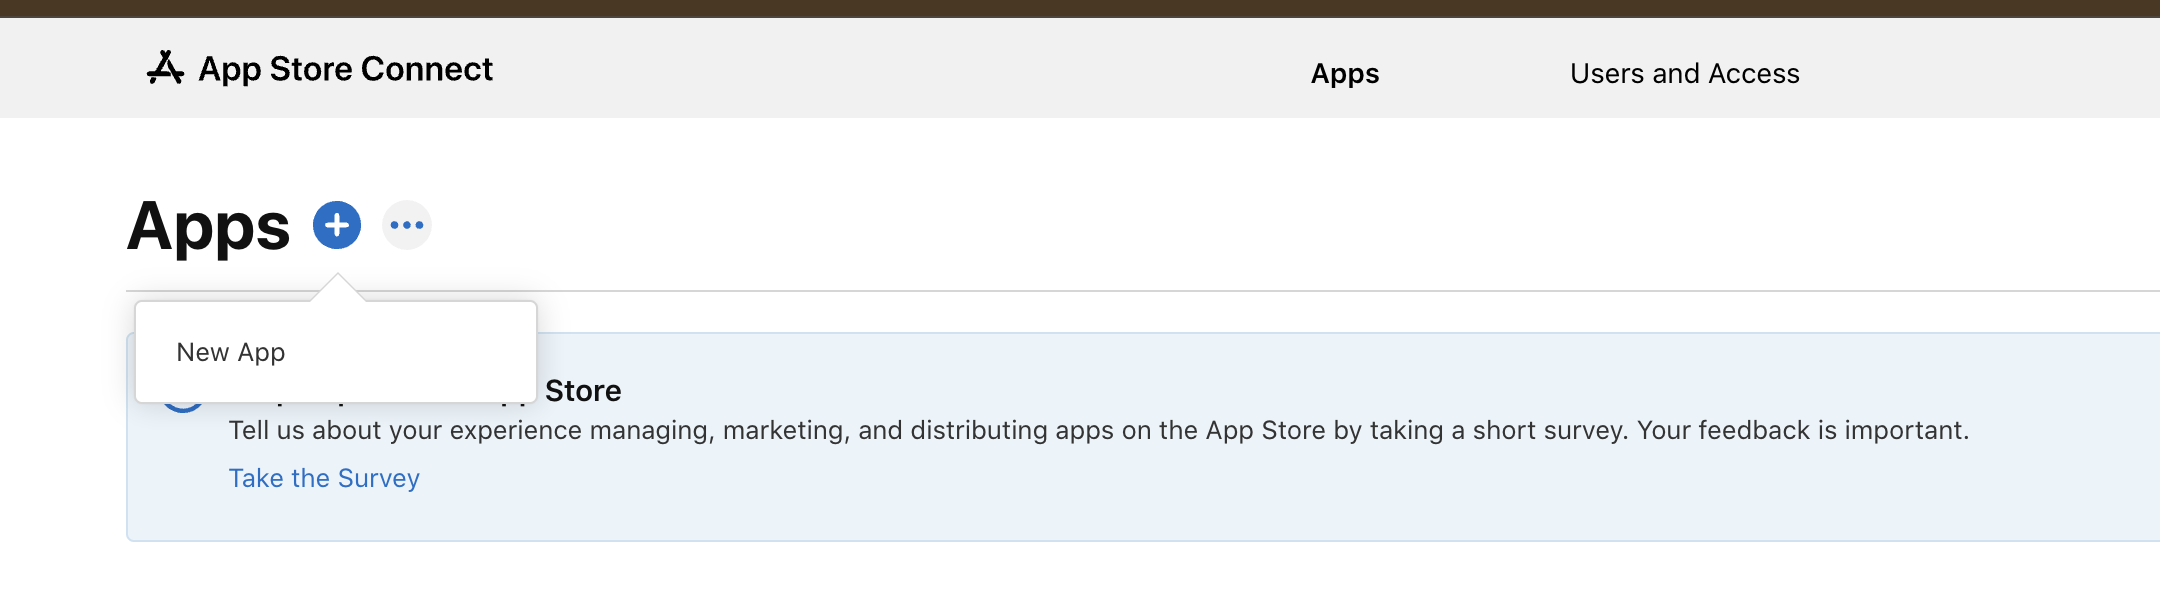
Create an Account on Apple Store Connect
- Log in to the Apple Store and connect with your Apple Developer account.
- Create an app record with the following:
- App Name
- Primary Language
- Bundle ID (must match the project)
- SKU (a unique identifier for your app, internal use only)
- User Access: Assign appropriate roles for developers and grant certificate access permissions

- Assign Developer Roles & Certificate Access
- Navigate to Users and Access.
- Add the developer’s Apple ID and assign the role (Developer or App Manager).
- Ensure permissions for managing certificates, identifiers, and devices are enabled.
-
Xcode Project Configuration (Ionic iOS Project)
- Open your Ionic project’s iOS folder in Xcode.
- Go to the last icon of the left sidebar and choose the “Cloud option” there and sign in with the Apple ID used for Apple Store Connect.
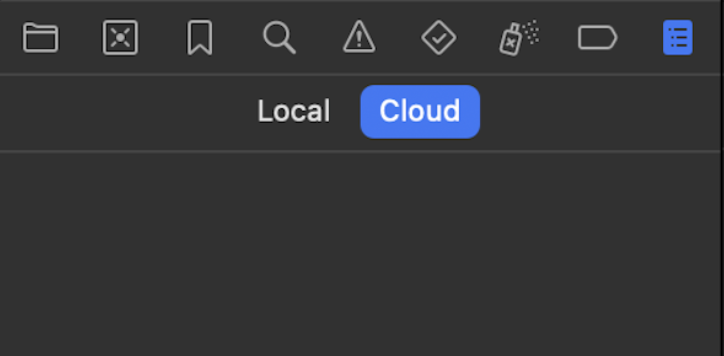
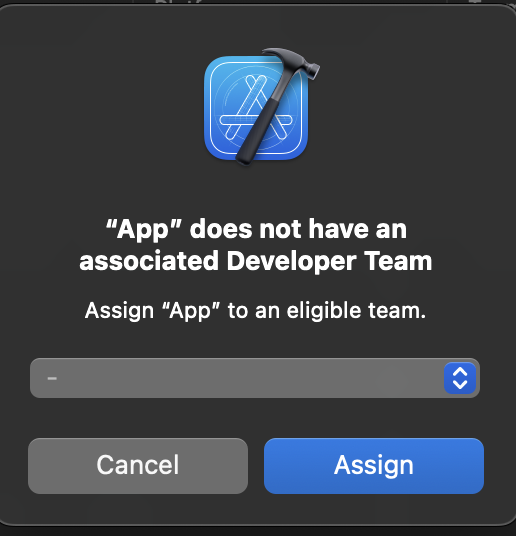
- After sign-in, choose the app that is created in the Xcode console.
-
Compliance Configuration (Info.plist)
If you encounter “Missing Compliance” issues:
- Open
Info.plist. - Add the following entry:
ITSAppUsesNonExemptEncryption-
Xcode Cloud Setup
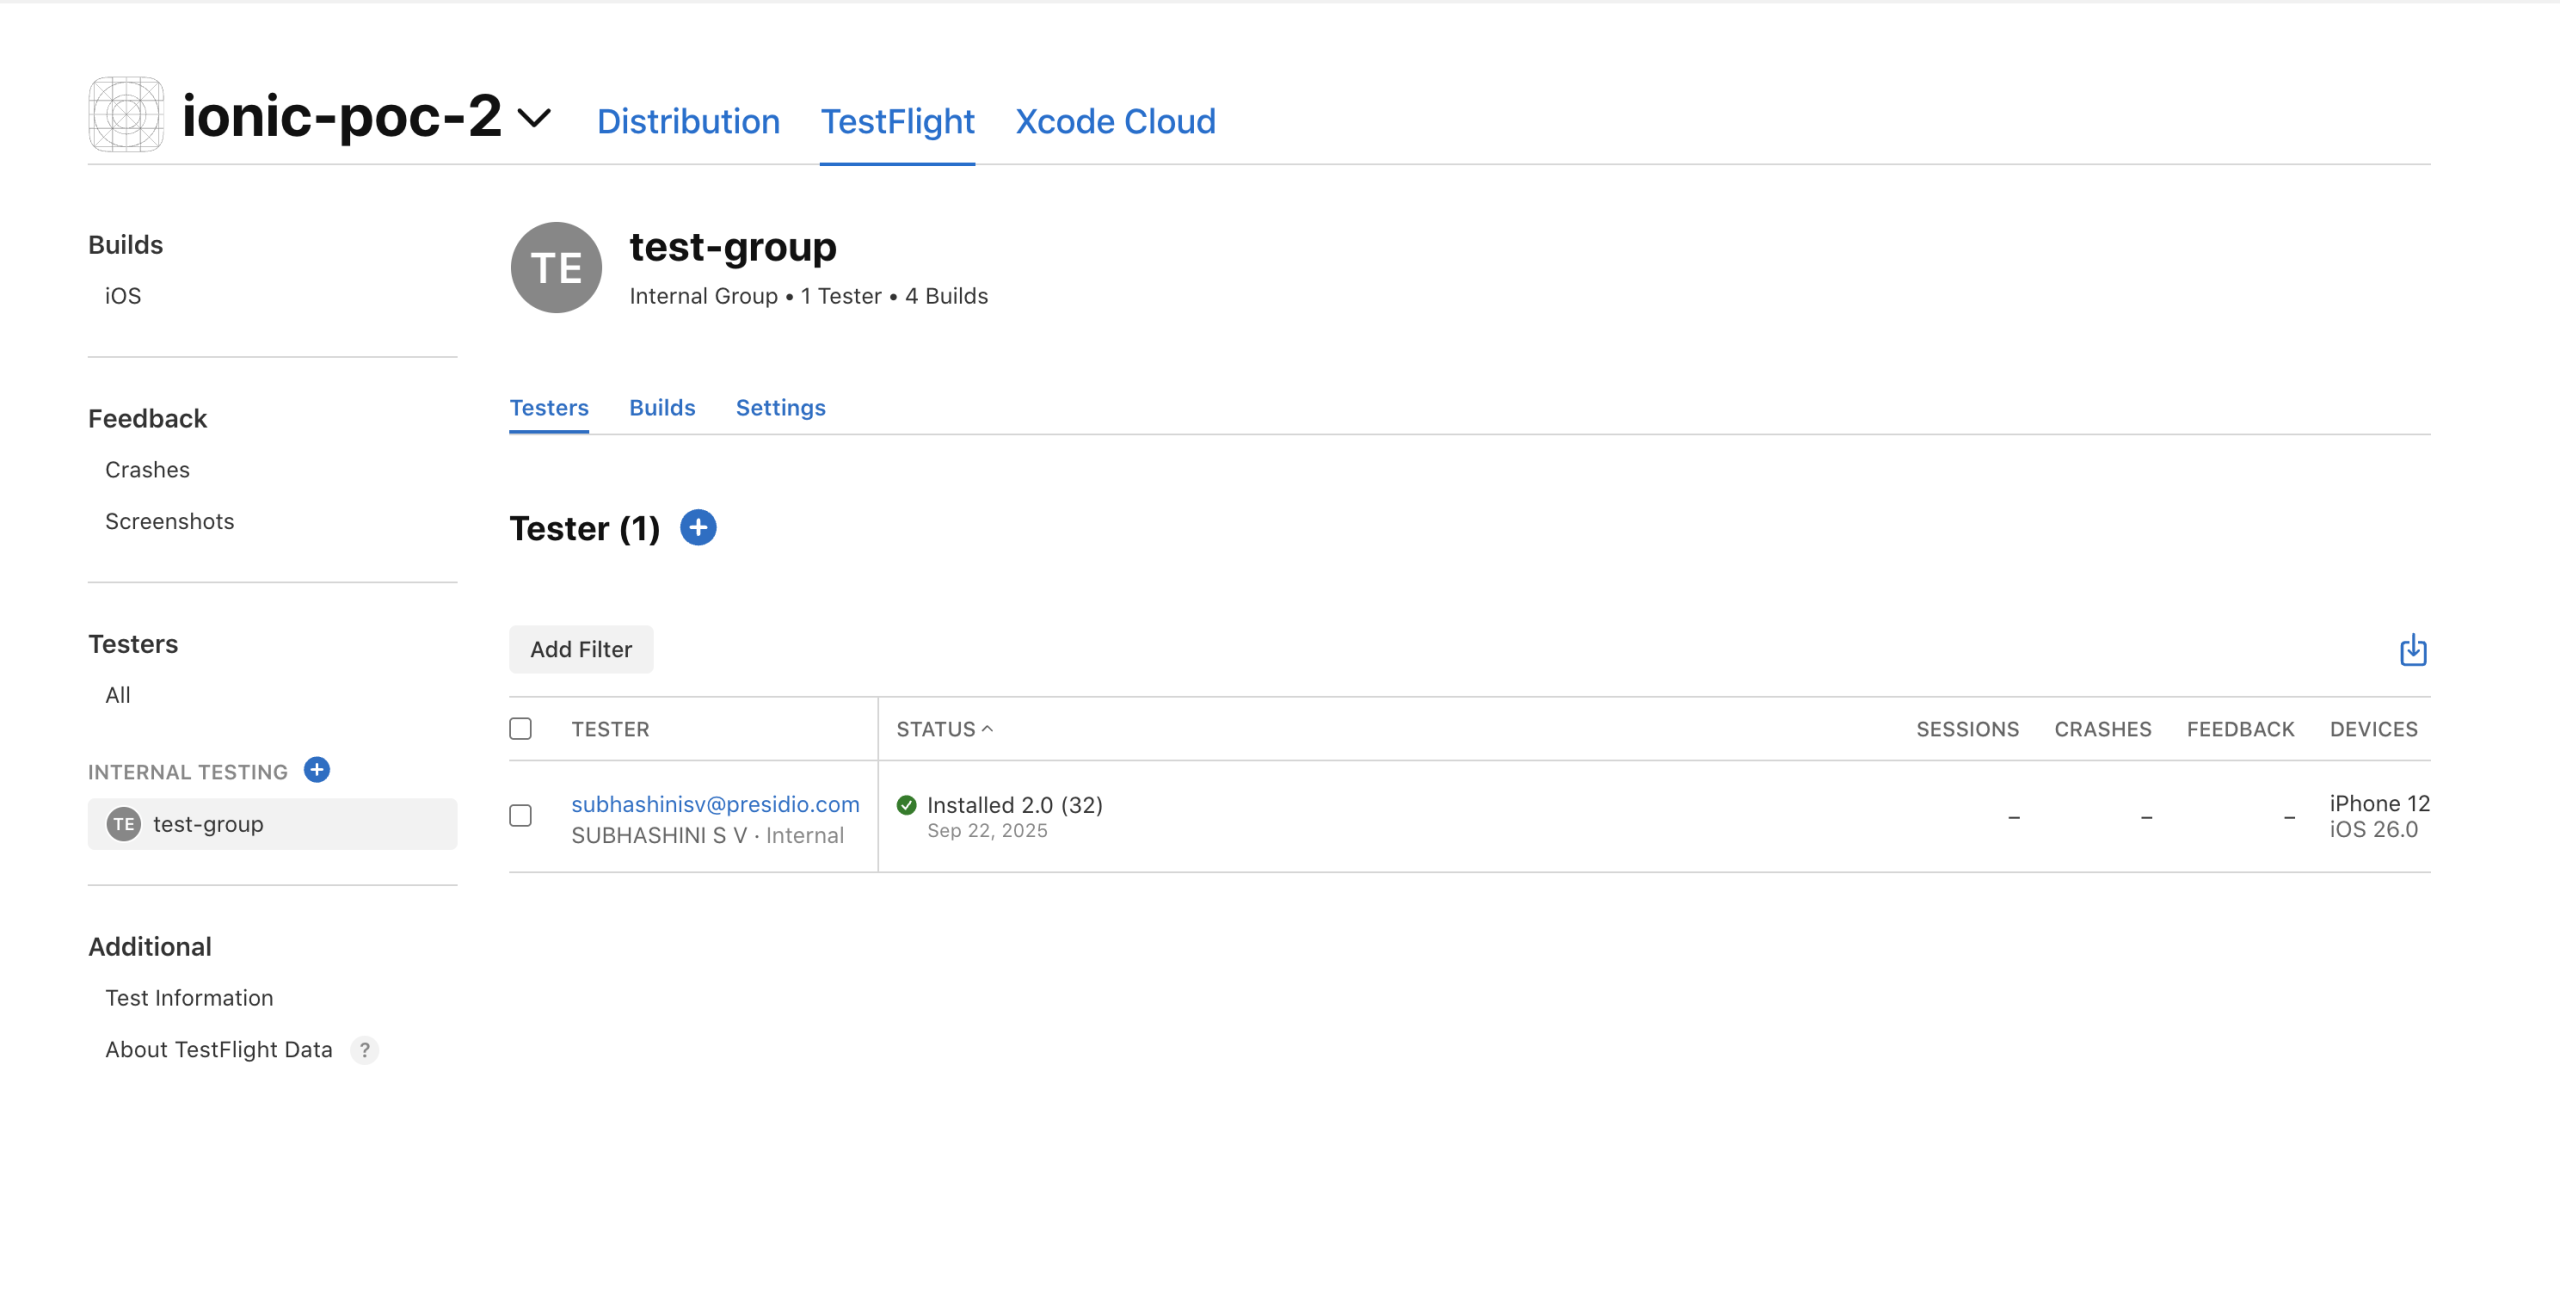
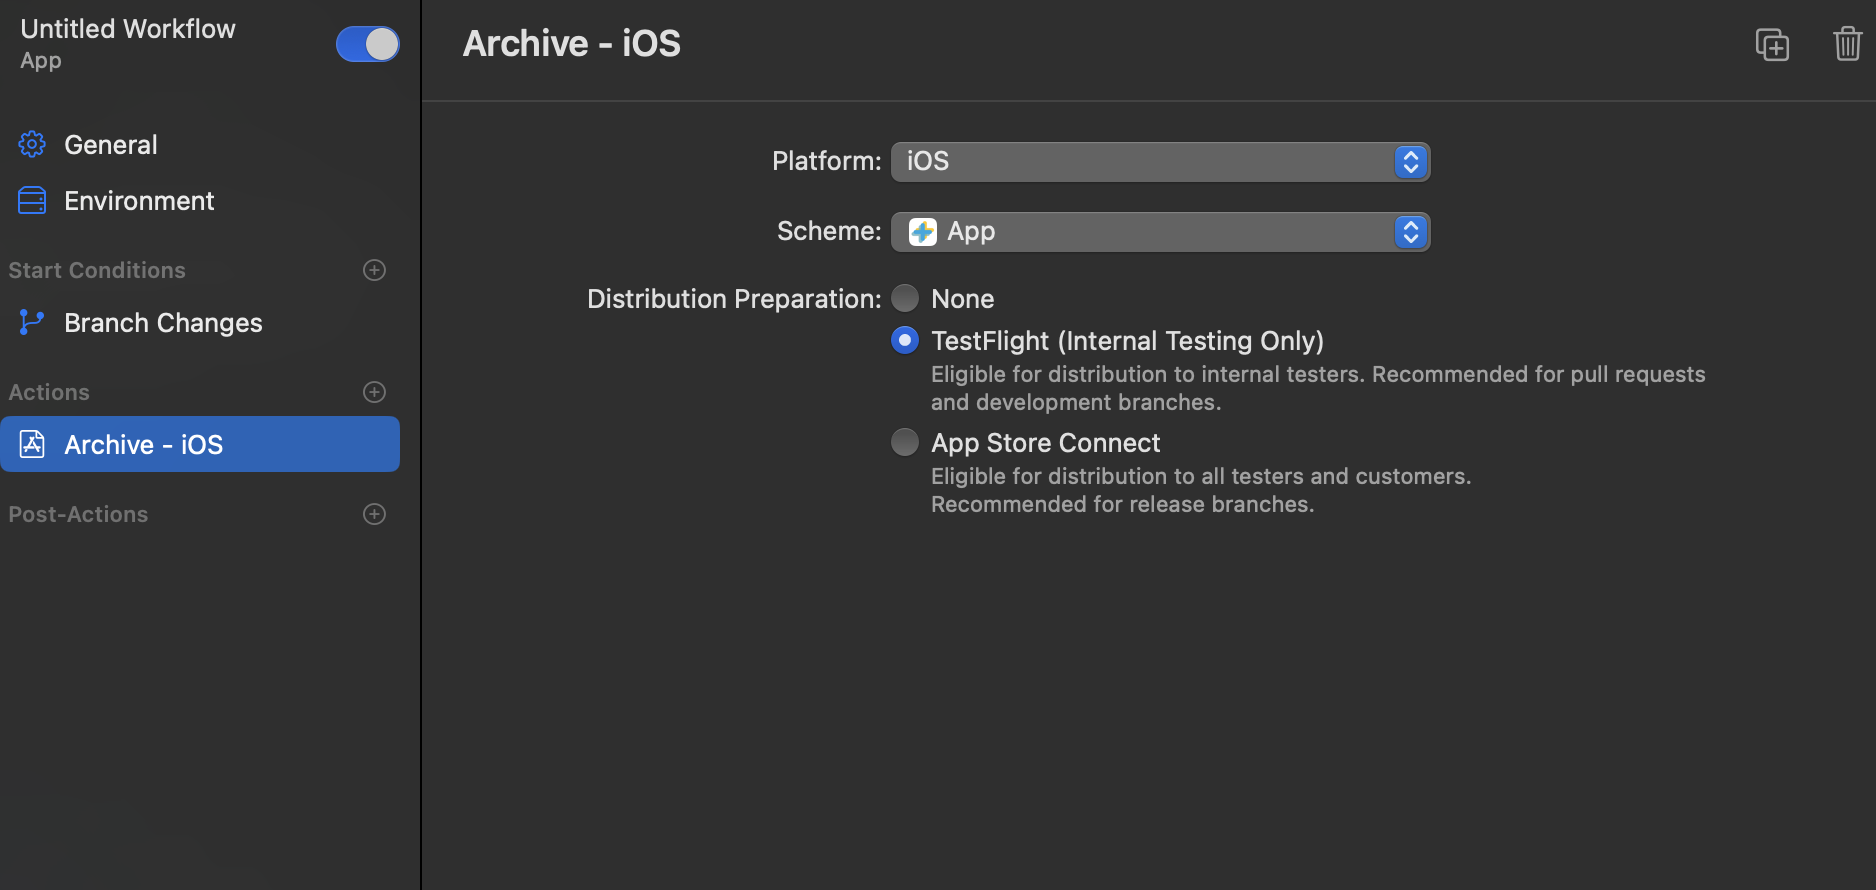
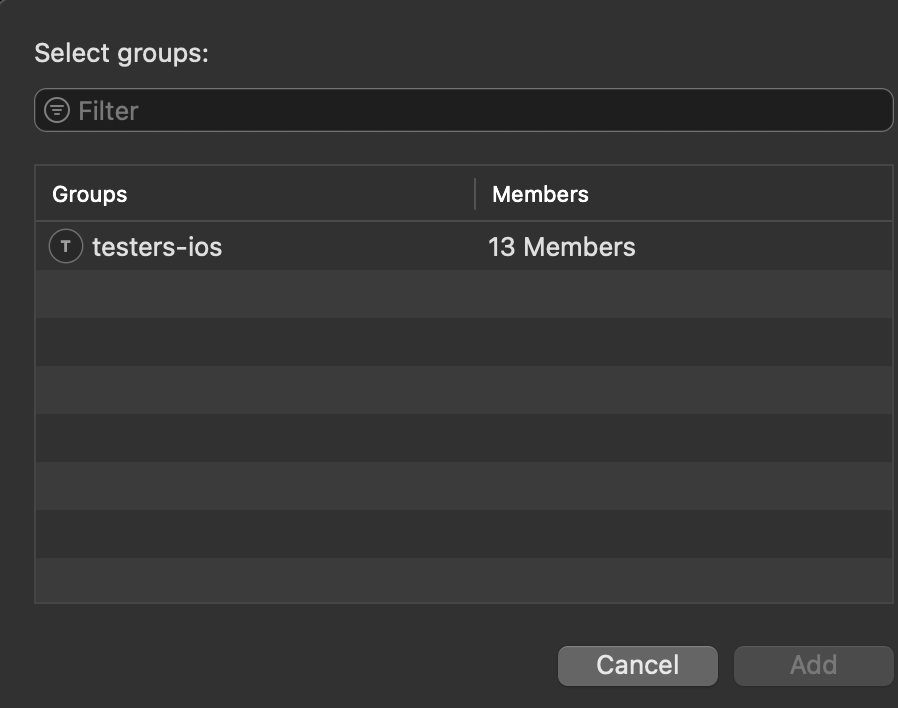
- Create a Test Group in Xcode Cloud:
- Go to App Store Connect → TestFlight → Groups.
- Create a test group and add testers (internal or external).
- Enable Automatic Registration
-
- In Xcode, go to Signing & Capabilities and enable the Automatically Manage Signing option.
-
Create a Workflow in Xcode
- Navigate to Xcode Menubar → Integrate → Create Workflows.
- Create a workflow for your project by clicking the “+ icon.”
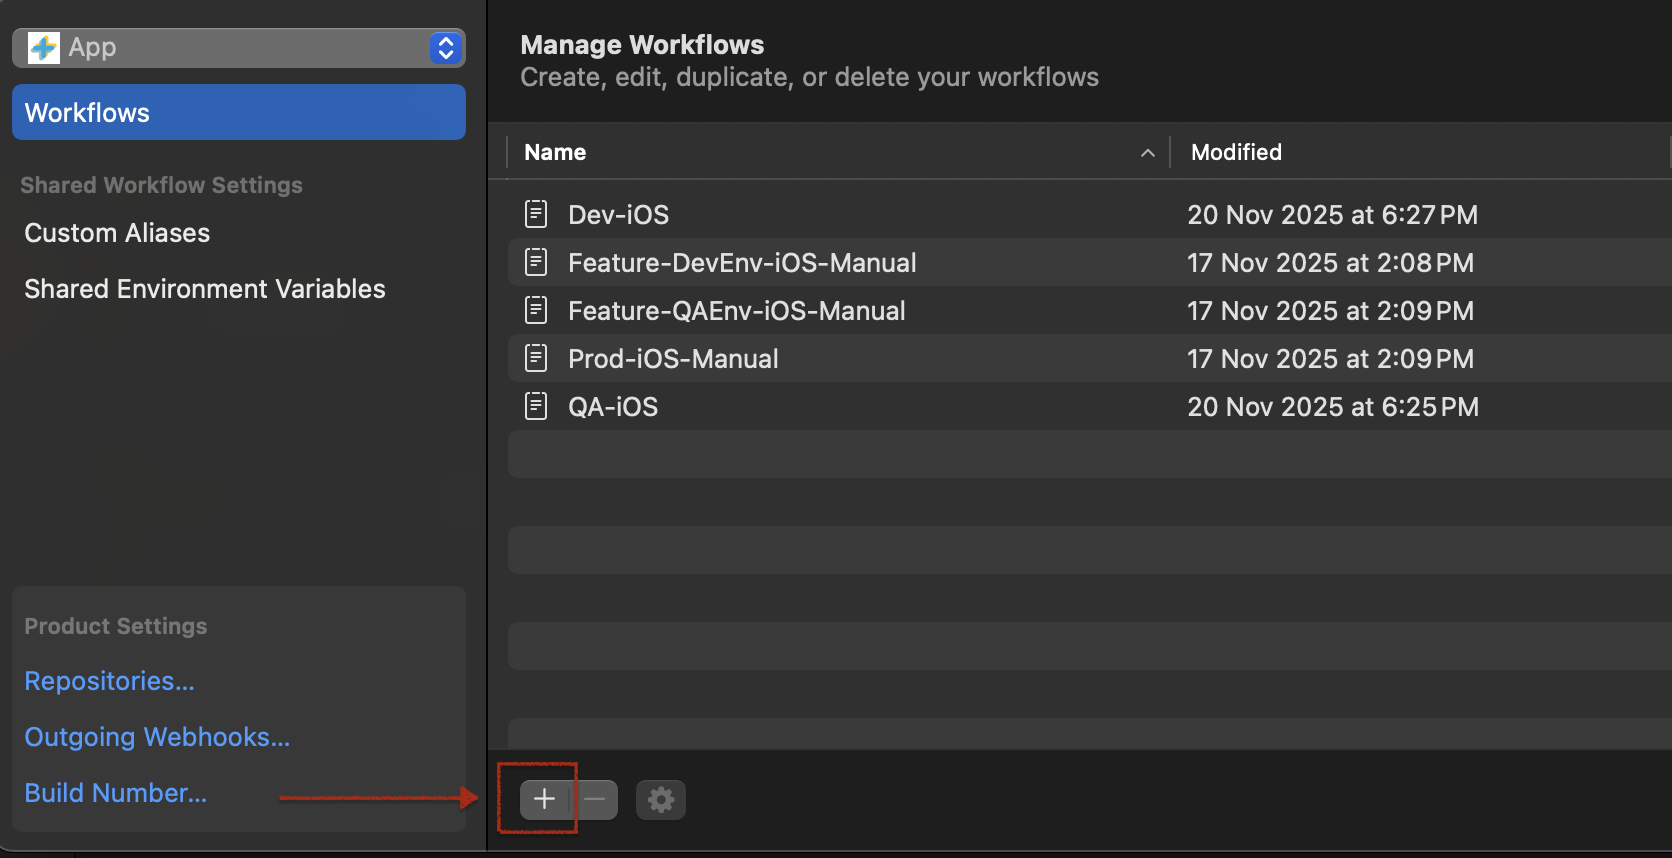
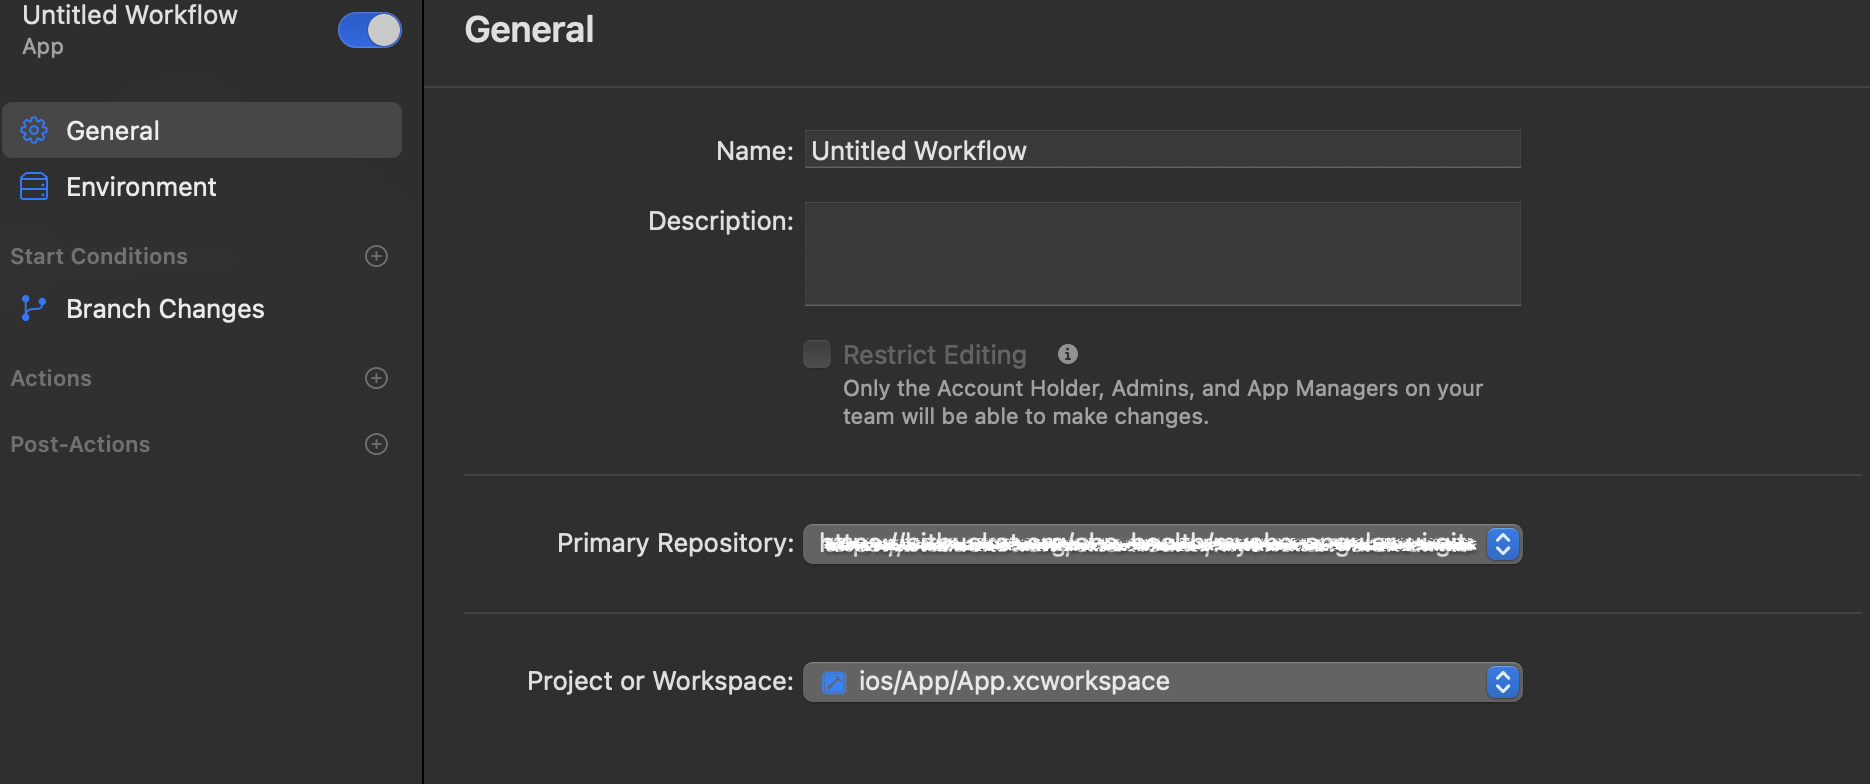
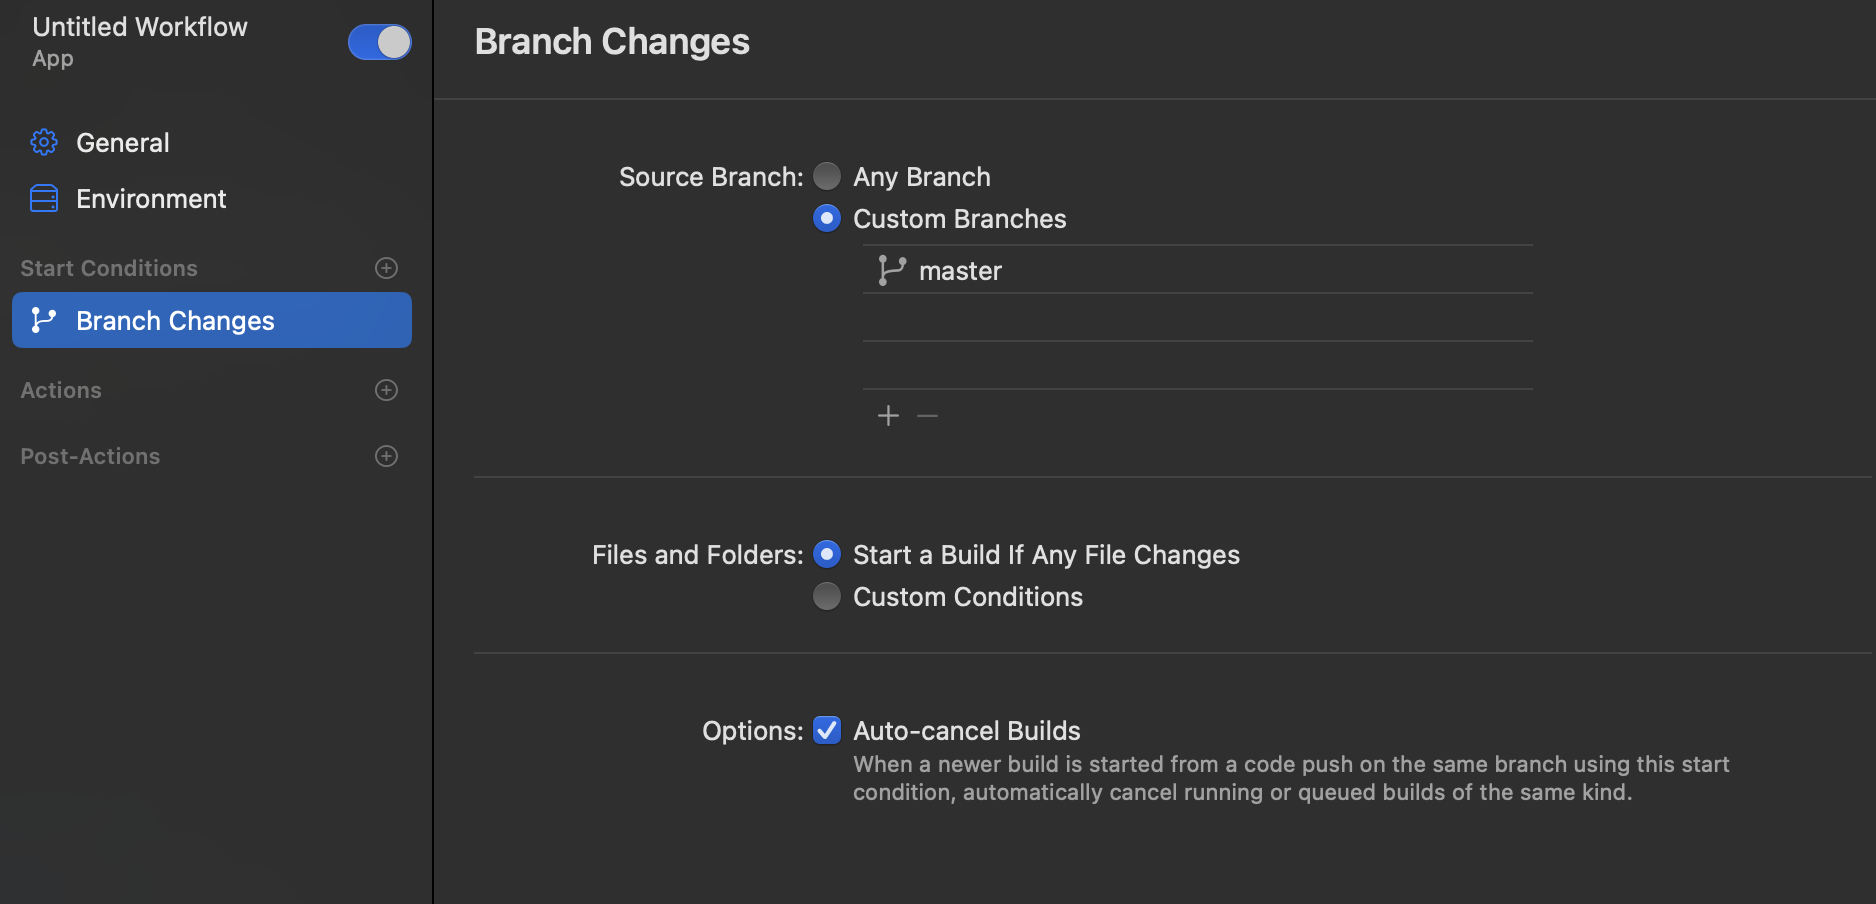
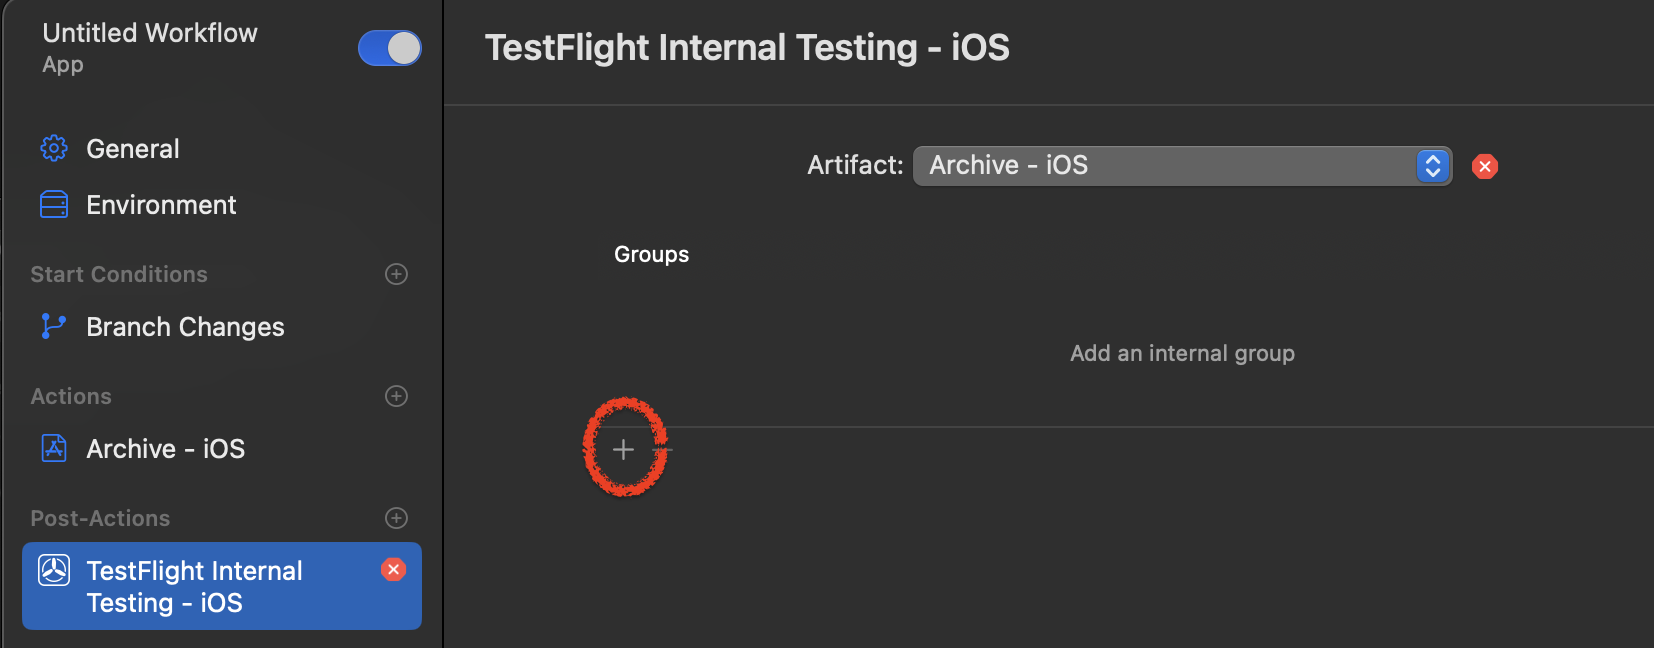
-
CI Script Configuration
Add ci_post_clone.sh
⚠️ The same naming should be used; don’t alter it.
Create the file:
/ios/App/ci_scripts/ci_post_clone.sh
#!/bin/sh export HOMEBREW_NO_INSTALL_CLEANUP=TRUE # Install CocoaPods echo "📦 Install CocoaPods" brew install cocoapods # Install Node.js 20 brew install node@20 brew link node@20 # Install dependencies echo "📦 Installing Node dependencies" npm config set maxsockets 3 npm i --legacy-peer-deps # Alternative: pnpm install --frozen-lockfile OR yarn install --frozen-lockfile OR bun install # Build the app echo "🏗️ Building Angular project" npm run build # Sync with iOS project echo "🔄 Capacitor iOS Sync" npx cap sync ios⚠️ Ensure the script has execute permissions:
chmod +x ios/App/ci_scripts/ci_post_clone.sh-
Package.json Updates
Add build and sync commands:
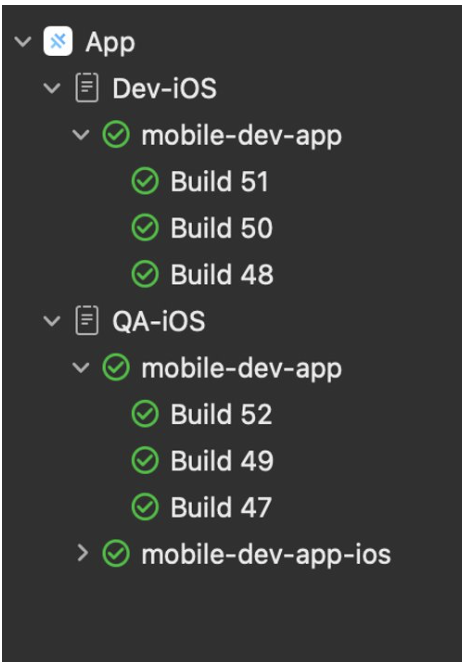
"scripts": { "build": "ng build", "sync:ios": "cap sync ios" }Overview of Xcode Cloud Project:
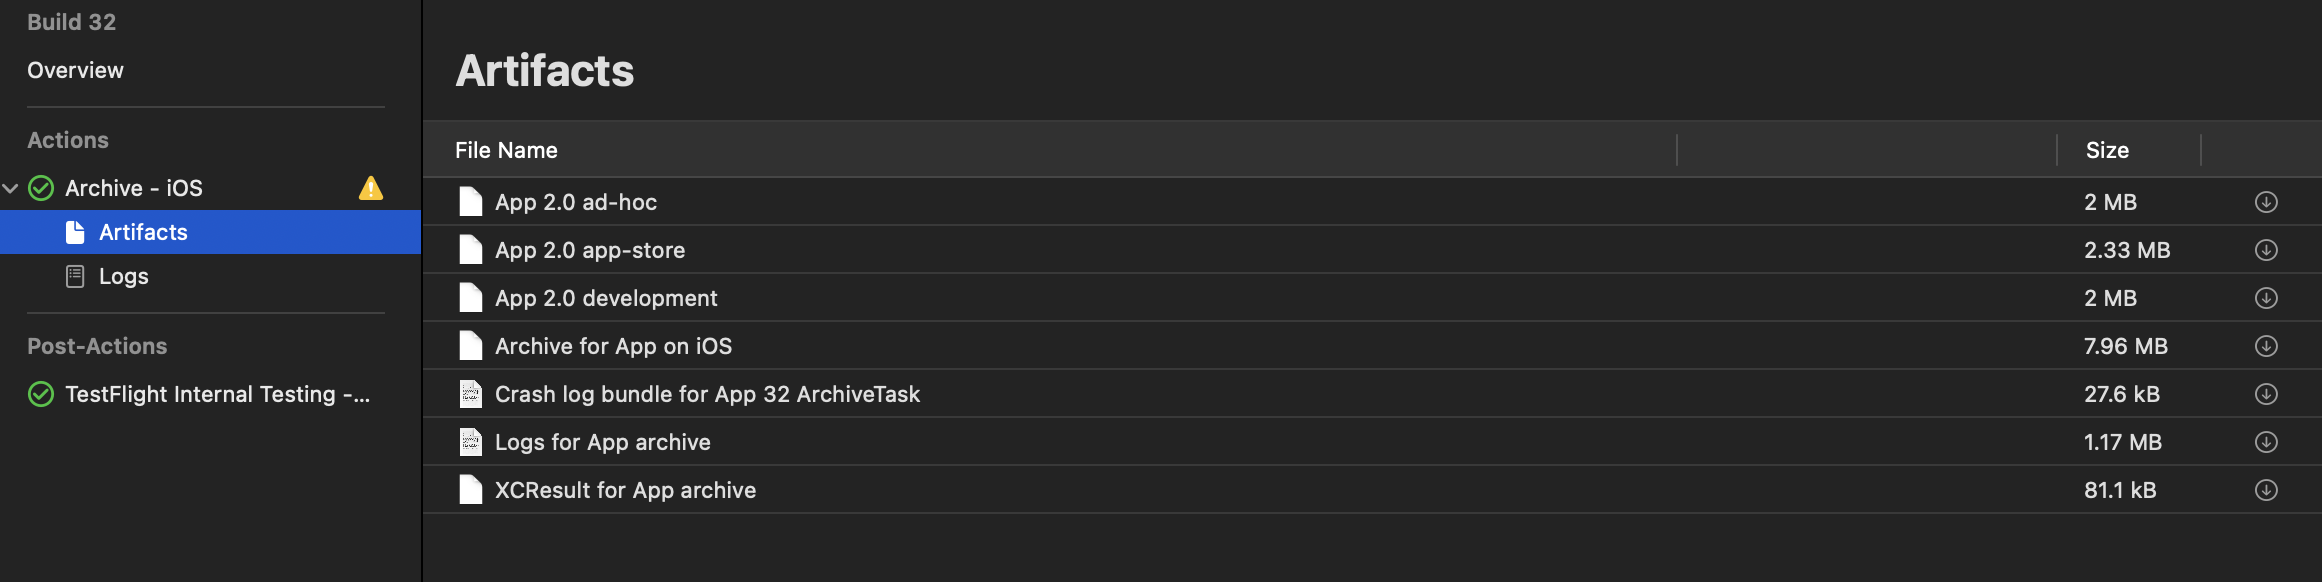
Artifact storage:
We can store the artifacts in the Xcode Cloud:
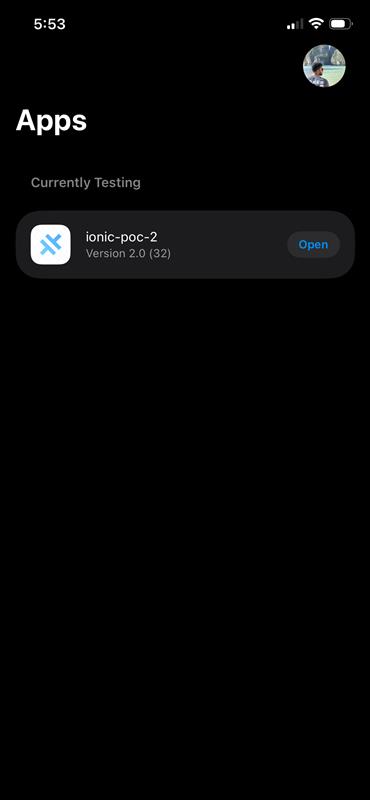
Test Flight on an iOS Device:

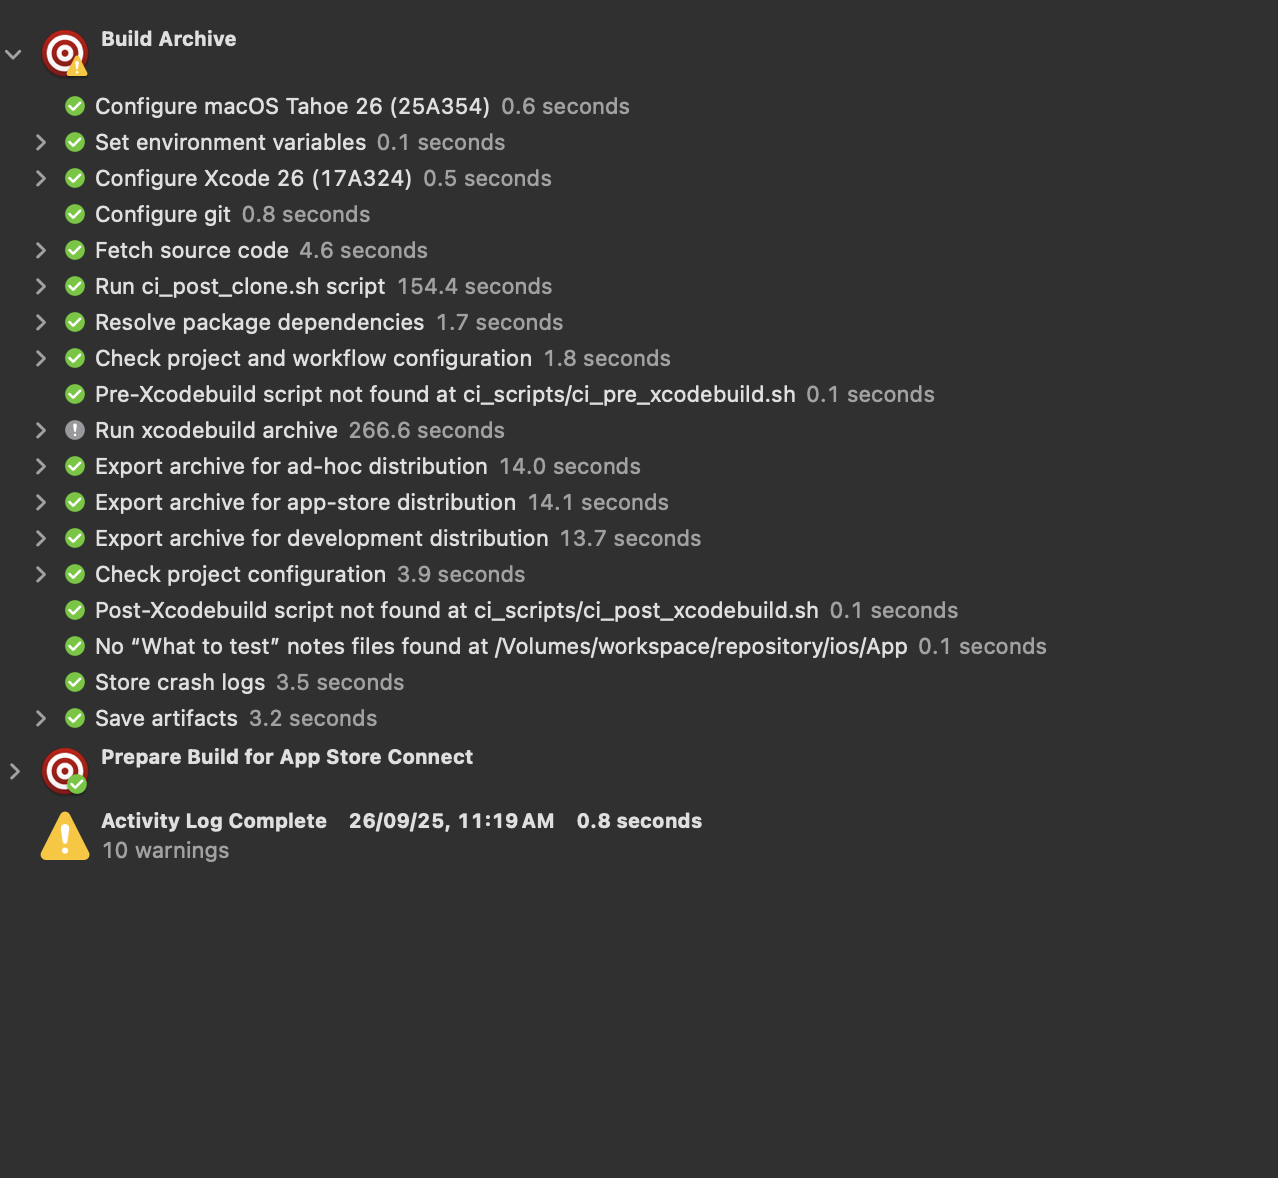
Build time:
Time taken for building: 11 minutes
Cost Savings:
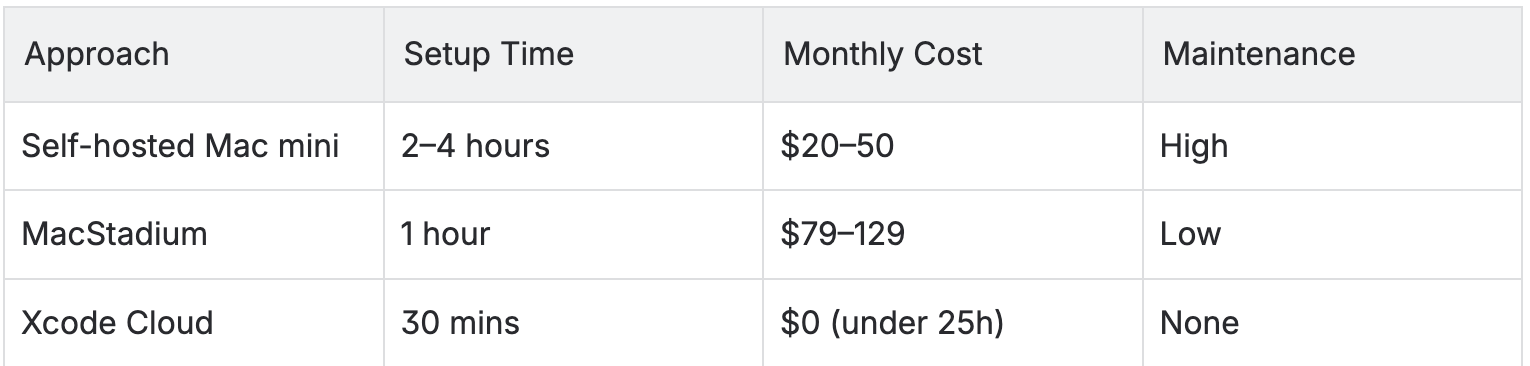
The Apple Developer Program provides 25 free compute hours per month for Xcode Cloud usage. As a result, we incur no additional costs, allowing us to achieve meaningful savings while still running our iOS build and CI/CD processes efficiently.
Conclusion
Xcode Cloud transforms iOS CI/CD from a costly infrastructure challenge into a streamlined, zero-cost solution. By following this guide, we eliminate the need for dedicated Mac build servers and gain a fully managed platform that scales with our needs. Now, the team can concentrate on developing features rather than handling build servers.
References
How to build Ionic Capacitor app in Xcode Cloud
Build and publish your iOS app to TestFlight using Xcode Cloud
